By Syahmi Hassan –
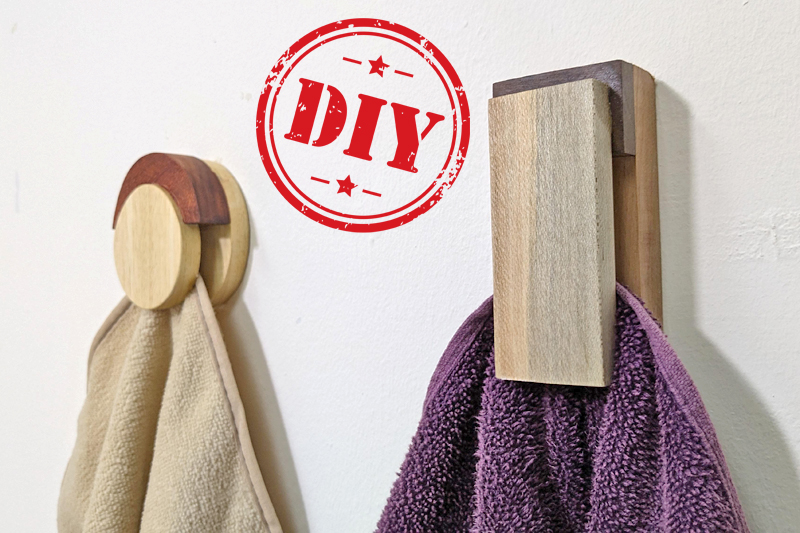
Building a wooden towel holder is an easy and fun DIY project that can add a special or modern touch to your bathroom or kitchen.
Here’s a step-by-step guide to making a wall-mounted wooden towel holder. (Picture 1)
Some items are needed
• Wooden boards
• Marbles
• Cutting table
• Hand saw
• Sandpaper
• Wood glue
• Wood oil
WOOD CUTTING PREPARATION
Start by choosing two pieces of wood that are 10×10 cm or about 4”x4”. Make sure the wood chosen is solid and free of any defects, such as cracks or excessive knots, as this will affect the final result.
It is best to use hard wood such as oak or maple which is durable and has an attractive natural pattern.
Draw a large circle – On a piece of wood, draw a large circle according to the desired size. Mark the center of the circle.
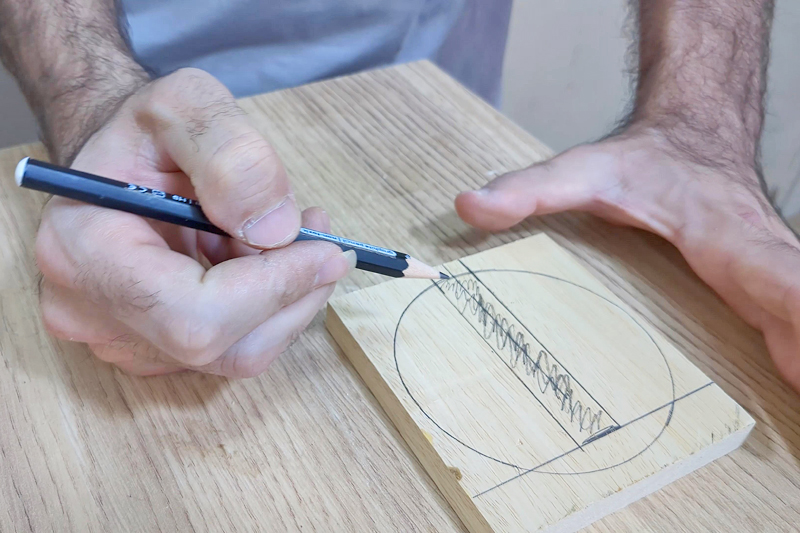
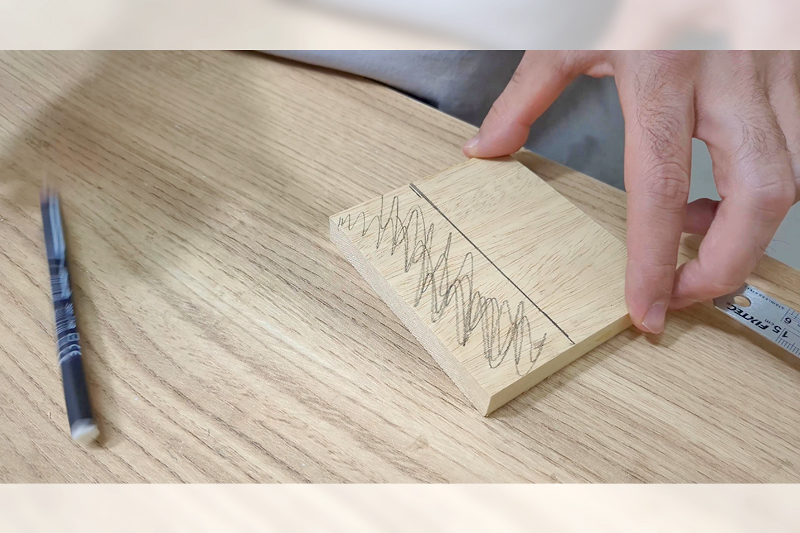

Marking for cutting – Measure 1cm from the edge of the circle and mark a cutting line around it to facilitate the subsequent cutting process.
You can use a table saw for precision or do it manually with a small saw. Make sure the cuts are neat and uniform for better results. (Picture 2)
REPEAT THE PROCESS ON THE SECOND PIECE
Repeat the same steps on the second piece of wood, but this time make a smaller circle than the first circle. These guidelines will ensure that the two pieces of wood will fit together well at the end of the process.
First draw and cut out a small circle. Make a mark and line a smaller circle on the second stick. Cut carefully, until a circle shape is produced.
For checking the shape, make sure the two circles are in the same shape to facilitate the installation process later. (Picture 3)
CONNECTION PREPARATION AND PLACE THE MARBLE
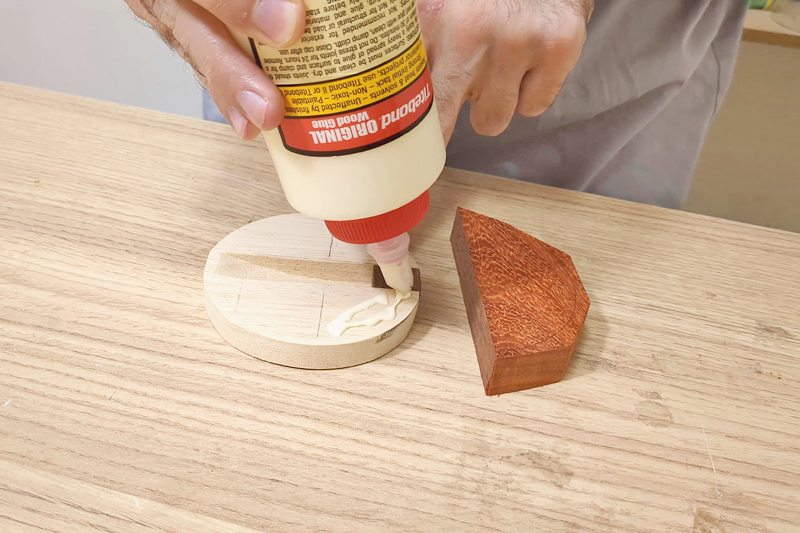
For the connection between the two circles, use rosewood, known for its hardness and elegant dark color.
Rosewood will be an interesting contrast with other woods, making the final result more aesthetic.
Cut the semicircle shape: Cut the rosewood into a semicircle shape that fits the size of the circle that has been cut on the previous pieces of wood.
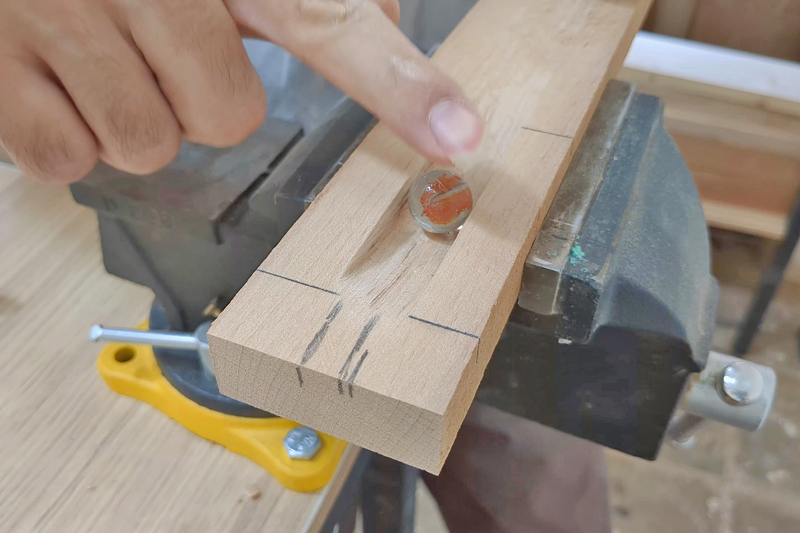
Installation of marbles as dividers: Place marbles between these joints, they serve as aesthetic and attractive dividers. (Picture 4)
CONNECTION WITH MARBLE AS A CENTRAL ELEMENT
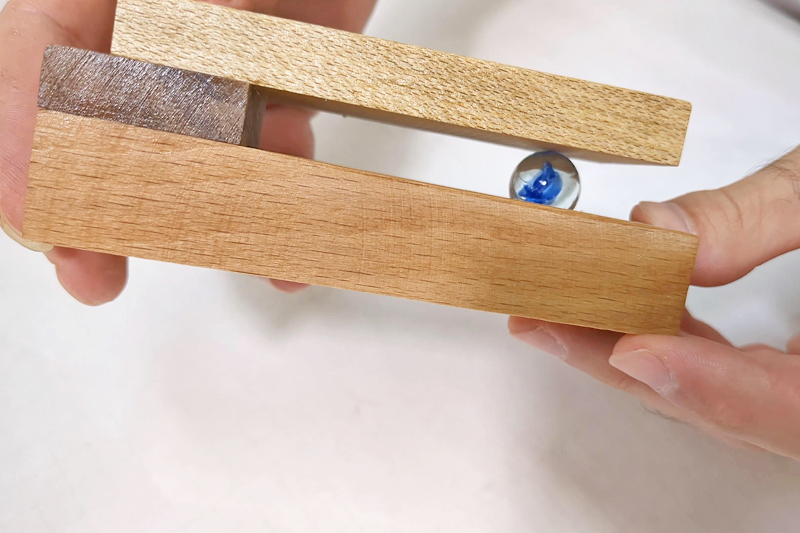
Join the second piece of wood by placing the marble in the middle.
The marble not only serves as a divider, but also as a decorative element that adds visual appeal to the project.
Place the marble in the prepared center and make sure it is stable. (Picture 5)
Then join carefully. Make sure each piece of wood is in the right position and the marble is in the middle for a balanced result. (Picture 6)
FINAL TOUCH WITH RUBBING AND ABSORPTION OF WOOD OIL
The final step is to give the finishing touches so that the project looks more refined and durable.
Sand the entire surface with sandpaper, starting from coarse to fine sandpaper to get a smooth surface.
Then apply a wood oil such as linseed oil or teak oil to protect the wood and bring out the natural beauty of the wood grain. (Picture 7)
Wood oil not only protects the surface but also gives it an attractive shine.
Allow the oil to absorb well and dry before using or displaying the final product.
Design tip
• Use clamps to keep the wood stable while cutting, this helps the cut to be neater and safer.
• For exact circles, use a compass or a circle template.
• Start with coarse sandpaper and gradually use fine sandpaper for smooth results.
• Apply wood oil thinly and allow to dry for a glossy effect.
• Test the fit of the pieces before using the glue.

