
By Amri HTZ –
Doing experiments in a project can highlight creativity and produce an original and unusual design.
Through it, one by one experience is also gained which is very useful in producing future designs.
As a result of this step, it is possible that the design produced will be able to generate side income if it is popular.
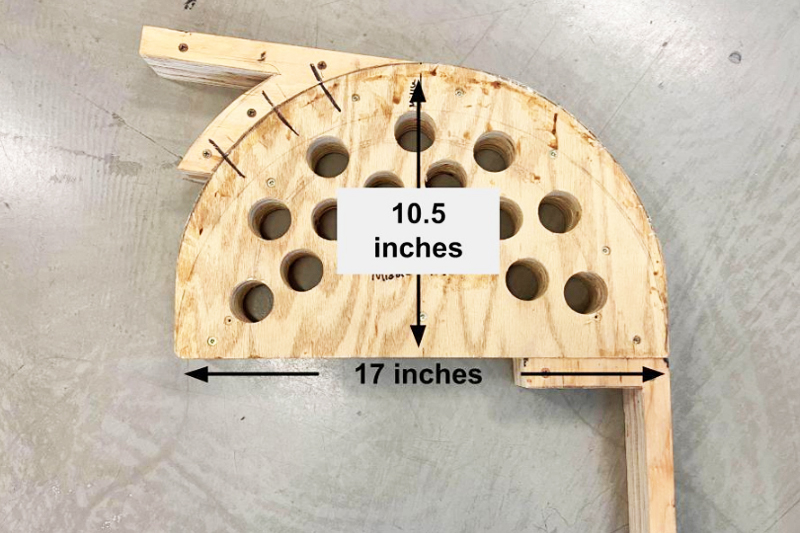
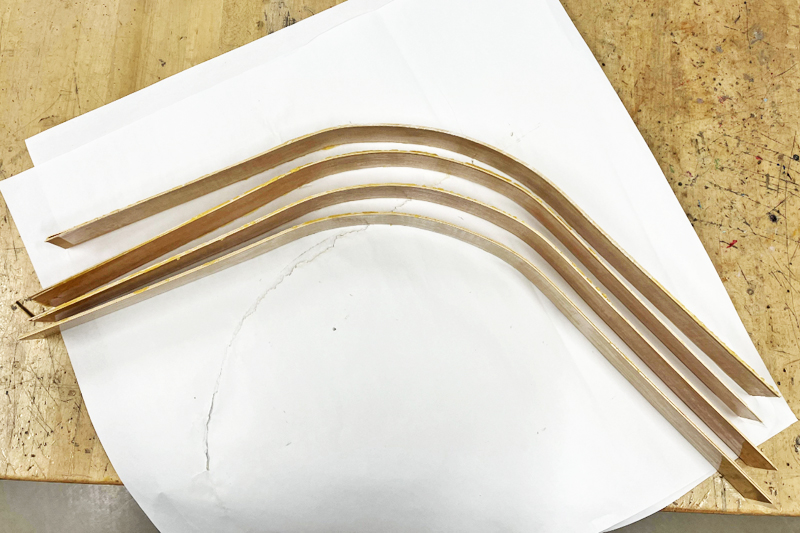
Among the items needed in the project this time focusing on their step is a table lamp made of wood that has a curved body with the wood at the bottom separated from each other. (picture 1)
For them you need:
• Wood cutting machine
• Wood clamps
• ¾ inch plywood
• 1/8 inch plywood
• Wood glue
• Drilling machine
• Router machines
• Board
• Lamp mechanism
• Wood finish
MOLD DESIGN USING PLYWOOD
Before starting the process of cutting the plywood into small pieces, first design a mold to make it easier for you to bend it using ¾ inch plywood. The semi-circular mold with a height of 10.5 inches, a length of 17 inches and a thickness of 4 inches is a joint of four pieces of ¾ inch plywood.
On the inside, it is punched with holes to make it easier to place clamps. Attach using wood glue and screws. (picture 2)

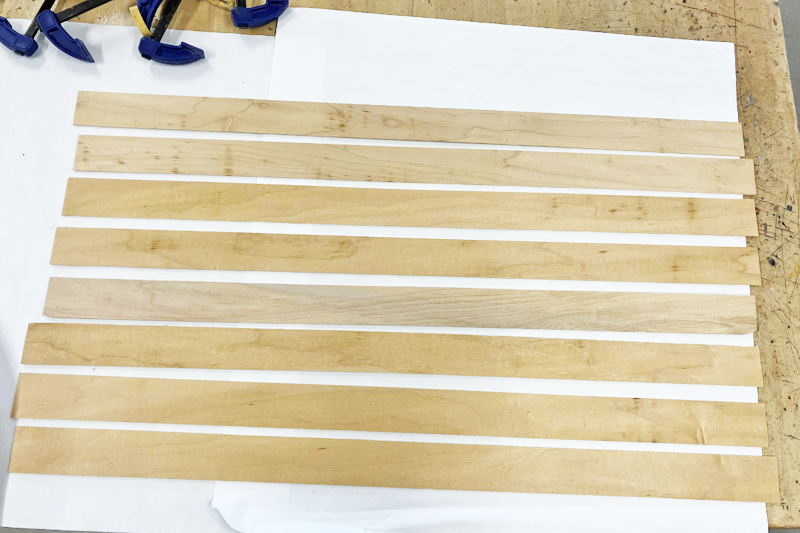
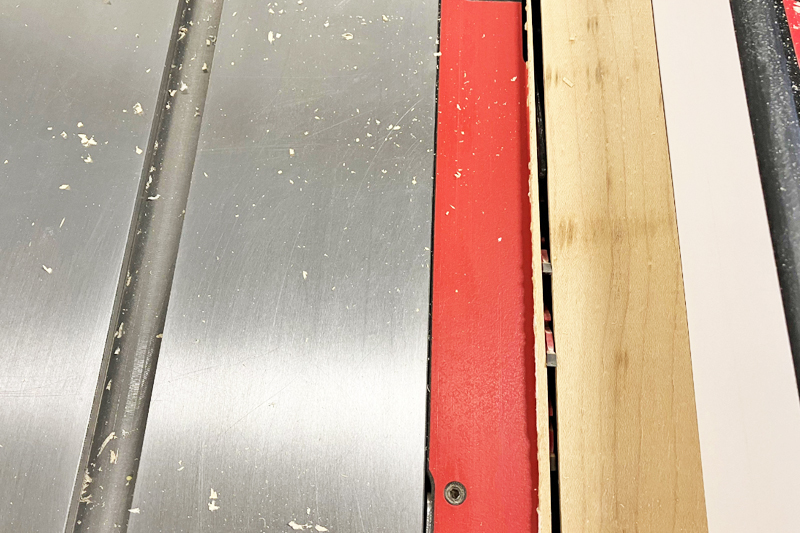

The available 1/8 inch plywood will then be cut into eight pieces 30 inches long and 2 inches wide. These pieces of plywood are ¼ inch wider than the finished product to allow room for alignment later. (picture 3)
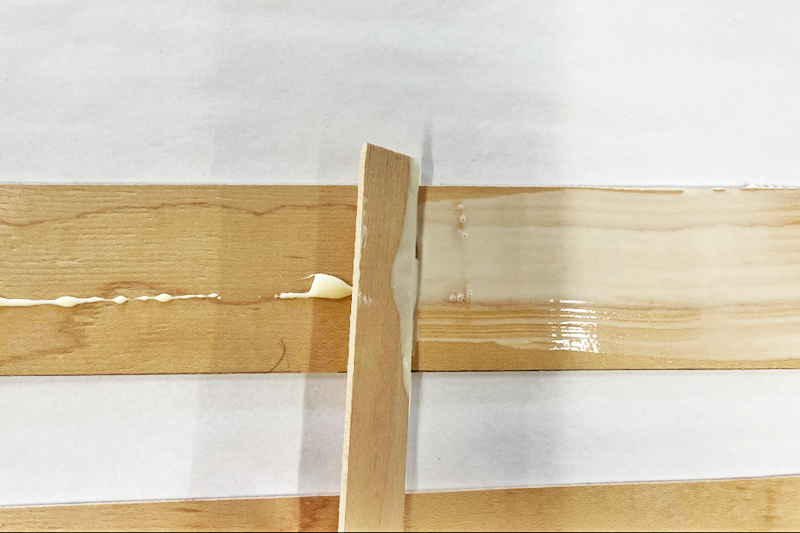
Instead of eight pieces of plywood, it will then be four pieces where every two pieces will be joined into one which is useful to maintain its curved shape in addition to strengthening the design structure. Coat the joint surface completely using wood glue. (picture 4)
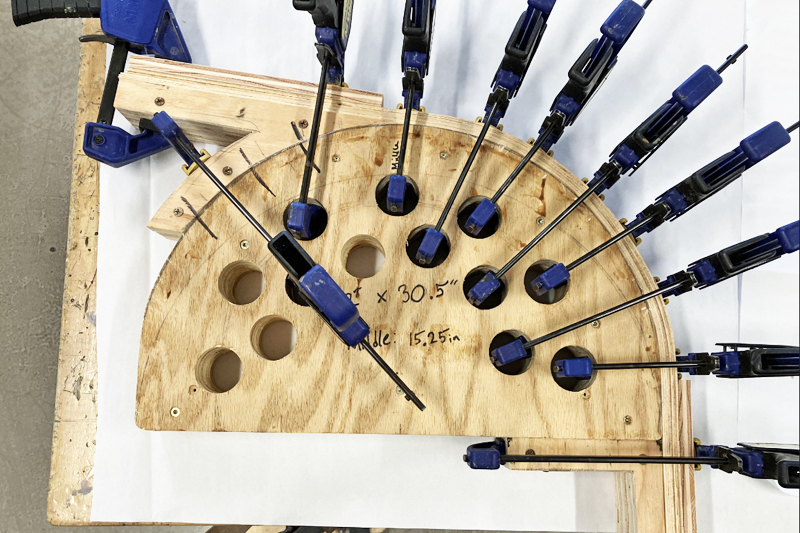
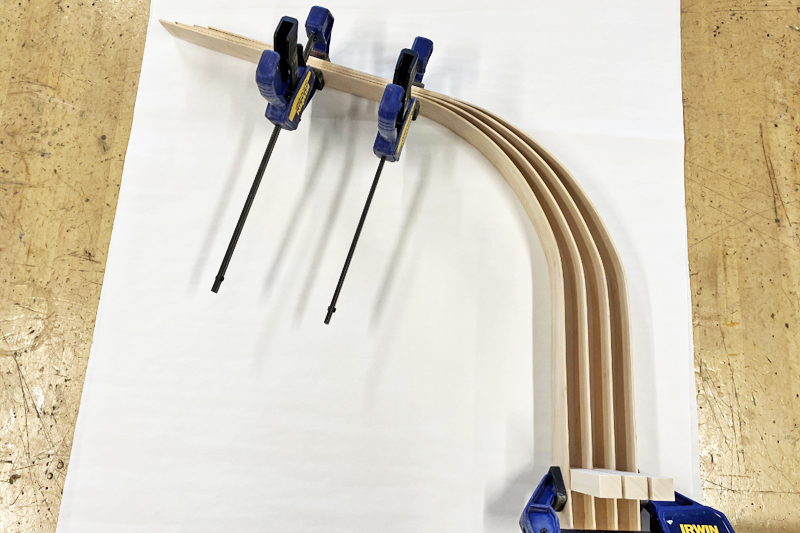
Each piece of plywood that has been joined and while the glue is still wet will be fixed in position on the previously designed mold. Hold it in place using a wooden clamp until the glue dries. (picture 5)
When you remove the clamps of the board formed on the mold, there will definitely be some pieces stuck to it due to the melting of the glue on the part that is difficult to clean. It is therefore important to ensure that the glue is cleaned when the wood is clamped to the mold before it dries. (picture 6)
MORE ACTUAL SIZE
The incident of incomplete joining of wooden pieces due to movement when clamped while the glue is still wet is a common occurrence.
Therefore, it is important that you increase the measurement from the original final measurement to make it easier to correct it by cutting it. (picture 7)
The next step is to join the ends of the curved pieces of wood that will house the light sockets. Apply wood glue to the inside of the wood about 5 inches from the end and join all four pieces of wood together. Make sure the bottoms are level and spaced ¾ inch apart from each other. (picture 8)
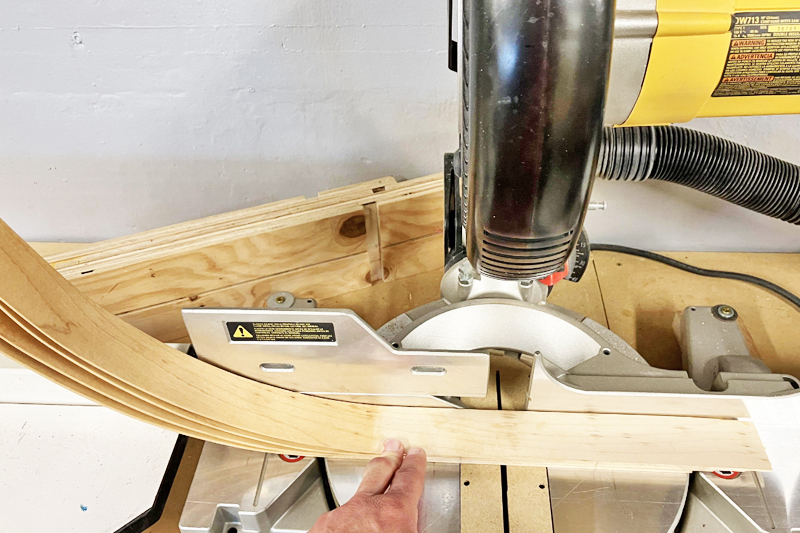
After the glue dries, cut the end of the joint flat using a miter saw. Doing it manually using a chainsaw is also possible. (picture 9)
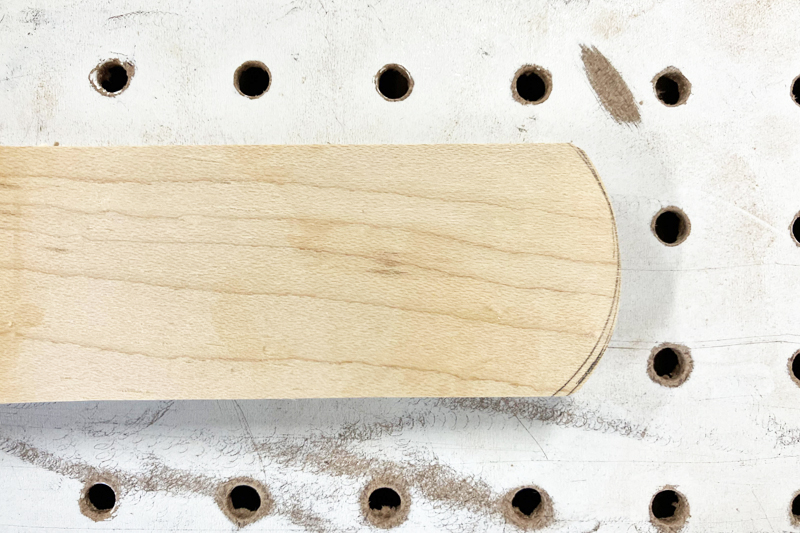
To make the design more interesting, the end that has been cut before will be shaped into a circle, matching the shape of the hole that will be drilled to accommodate the light socket. (picture 10)
VERNIER CALIPER IMPORTANT MEASURING TOOLS
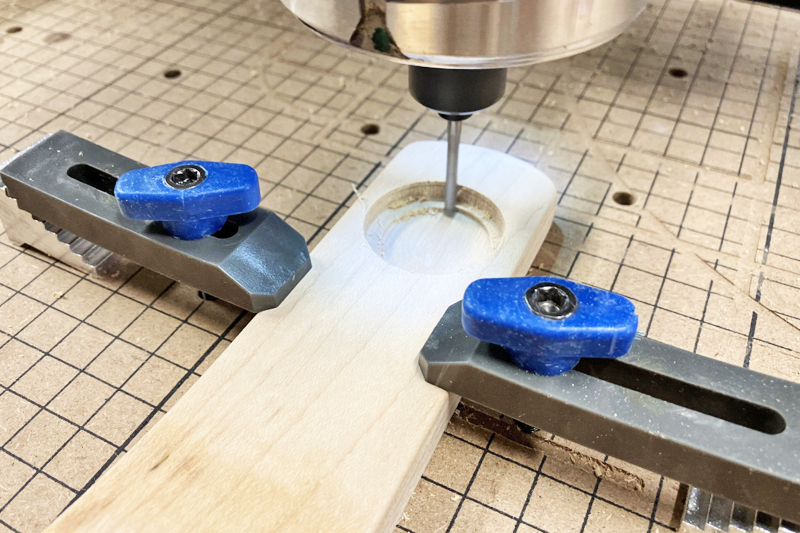
Before drilling the hole for the light socket, measure using vernier caliper socket diameter. After that, use a drill bit of the appropriate size to drill a hole. (picture 11)
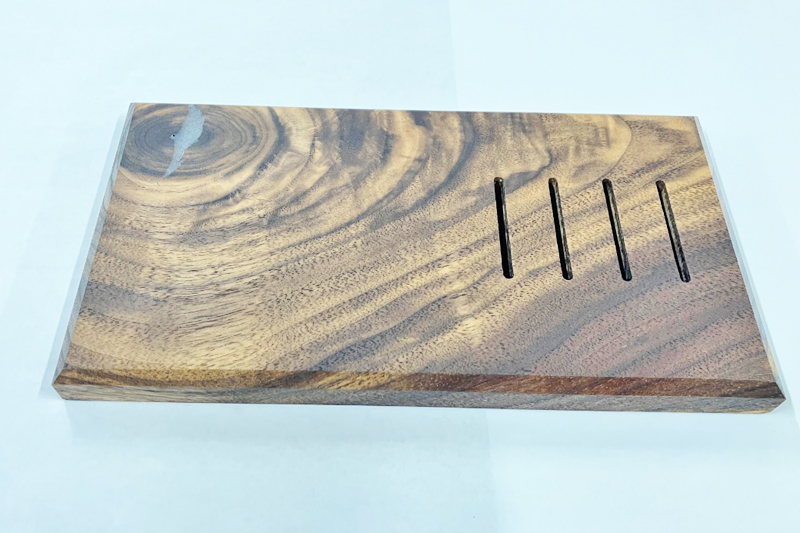
For the leg of the lamp, a board measuring 4 ½ inches wide and 8 ½ inches long will be cut that has a thickness of ¾ inch. One of the middle ends of the board will be designed as a space to accommodate the lamp body material that has a separate end. Use a router machine to implement it or a wood plane. (picture 12)
Once the special space on the lamp base is designed, attach the lamp body to it using wood glue.
When the glue has dried, you can now place the provided light mechanism. For the wire part, a braided cover is used since it is quite beautiful in appearance in addition to covering the lamp wire.
With this last step, the unique design that has been completed can now be placed on the desk or used as a lamp for sleeping. (picture 13)
Design tip
• Apply wood finish appropriate to protect the design thus making the end result of the design more attractive with the colors used.
• In order to ensure that the wire stays in place, special wire clips will be used either made of plastic or iron, or they themselves use wood.